Week Six: Patisserie
Patisserie
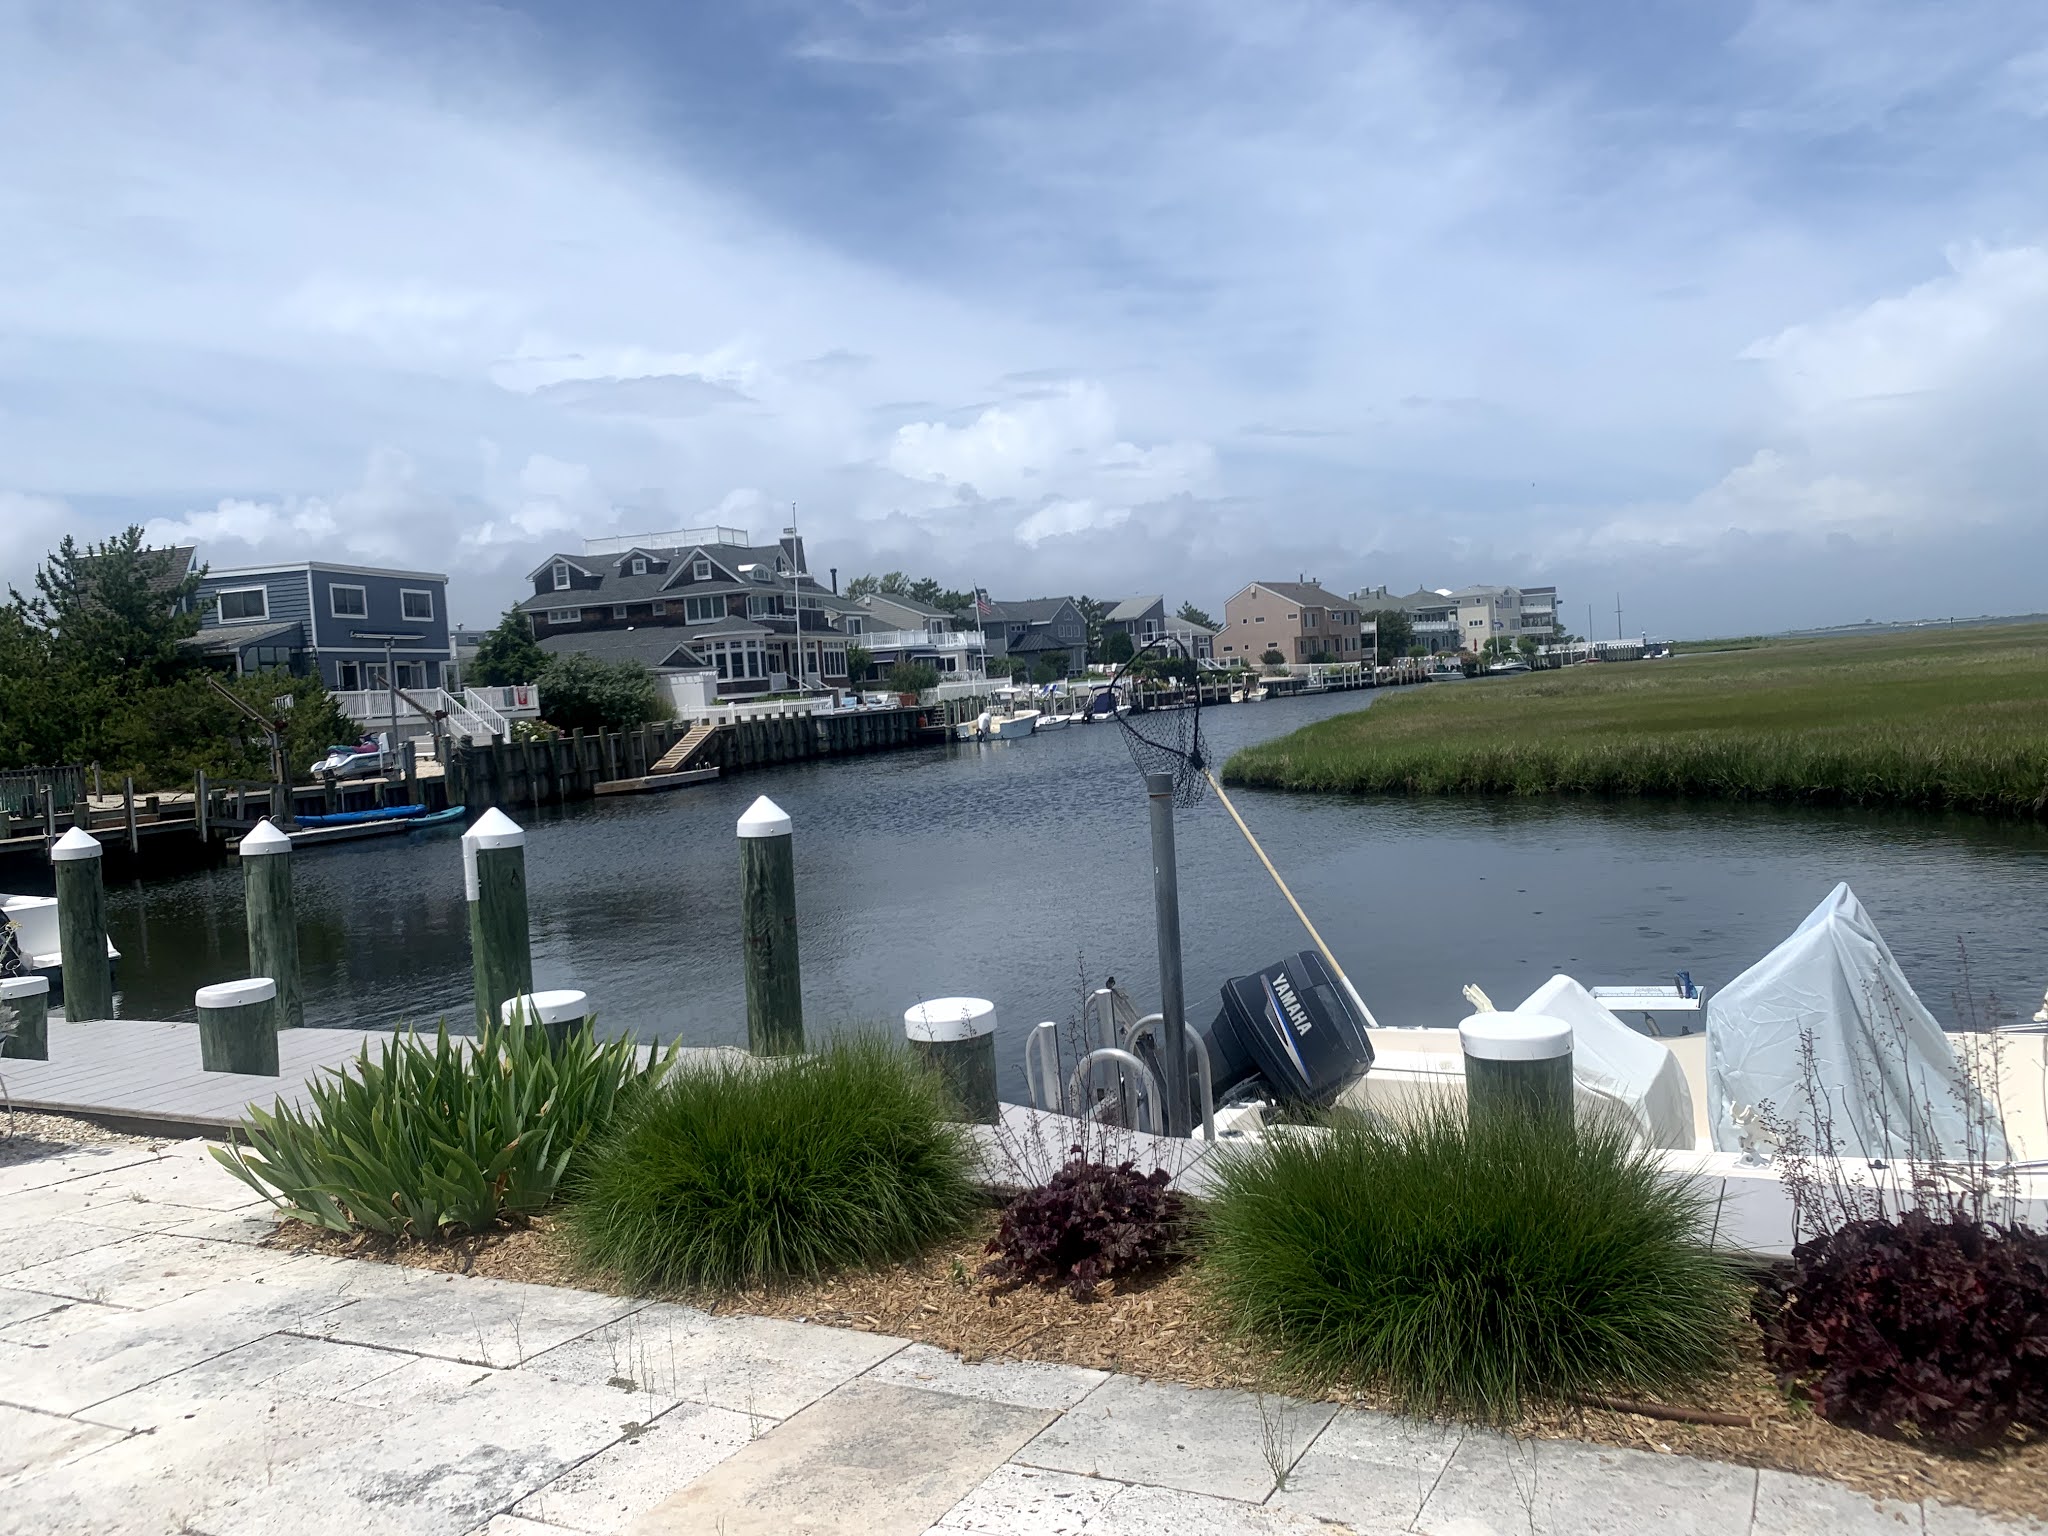
Happy Independence Day for those of you in the US! I'm on vacation this week, and this is my view:
I'm spending the week with my parents, and my mom (who has been eating many of these bakes) is now reading my copy of Rosaline Palmer Takes the Cake. She keeps laughing and reading funny lines out loud to me, as though I haven't read this book multiple times already, and I love it. I love that she's enjoying it because clearly I enjoy it, and it's fun to have her read the thing she's been eating all these bakes from. Also, apart from reading by the water, fishing with my dad, and baking/working on this blog I've also been allowed to decorate some pottery with my mom, who is a potter and made pretty much all the pottery that all my bakes have been displayed on and often baked in. You can check her out at www.highbarpottery.com, if you want. She doesn't update it often but her stuff is beautiful so if you're into pottery, please do take a look.
Anyway, baking... I did all my patisserie week baking over two days, prior to vacation and three of the cakes in one day to bring them to a family party. I don't recommend that. I had so much stuff going on that I ran out of room in my not small kitchen and had cakes and macarons cooling/waiting on and in bookshelves all over my living room...


I'm skipping the blind bake gougers because we did that already in the first Rosaline Palmer post, with the Harry's Cheesy Bites that comes with the book which apparently worked wonderfully for everyone except me, but whatever, it's fine. I don't take personal offense at recipes not working for me when they work for everyone else because that would not be reasonable and I am definitely a reasonable person who would never let my feelings be hurt by a recipe. Definitely.
Macarons
To be honest, I love eating macarons, but they intimidate me. I've tried to make them a few times, never fully successfully. One of the things that is supposed to be important is to let your egg whites sit out at room temperature for a day or so beforehand. So, the day before embarking on this journey, I spent a bit of time separating eggs and I couldn't help but think of a different book because, as I have previously mentioned, I love For Real, and there's a great scene where Toby asks Laurie about a certain item, and says it looks like an unnecessary kitchen device for the separating of eggs when that's why you have hands, and Laurie responds with a fake biblical verse and while I prefer to separate eggs by sliding the yolk back and forth between the halved egg shells -and regardless of how anyone else might choose to separate their eggs (or do anything else) in the privacy of their own kitchens- what I'm trying to say here is that I can no longer separate eggs without thinking about Toby and Laurie and the Gates of Hell. Which is weird. Also, funny.
ANYWAY, these macarons came out surprisingly well. I am super excited about them. Most of them had feet. Most of them had glossy shells. Some were over-baked, some were under-baked, but that's entirely on me, and they *all* tasted lovely. I used these for the Galaxy/space cake, the Mermaid cake, and the Marie Antoinette Cake.
I'm not including the recipe (other than the link) but here's my step-by-step photos for the first batch and some pictures of macarons!


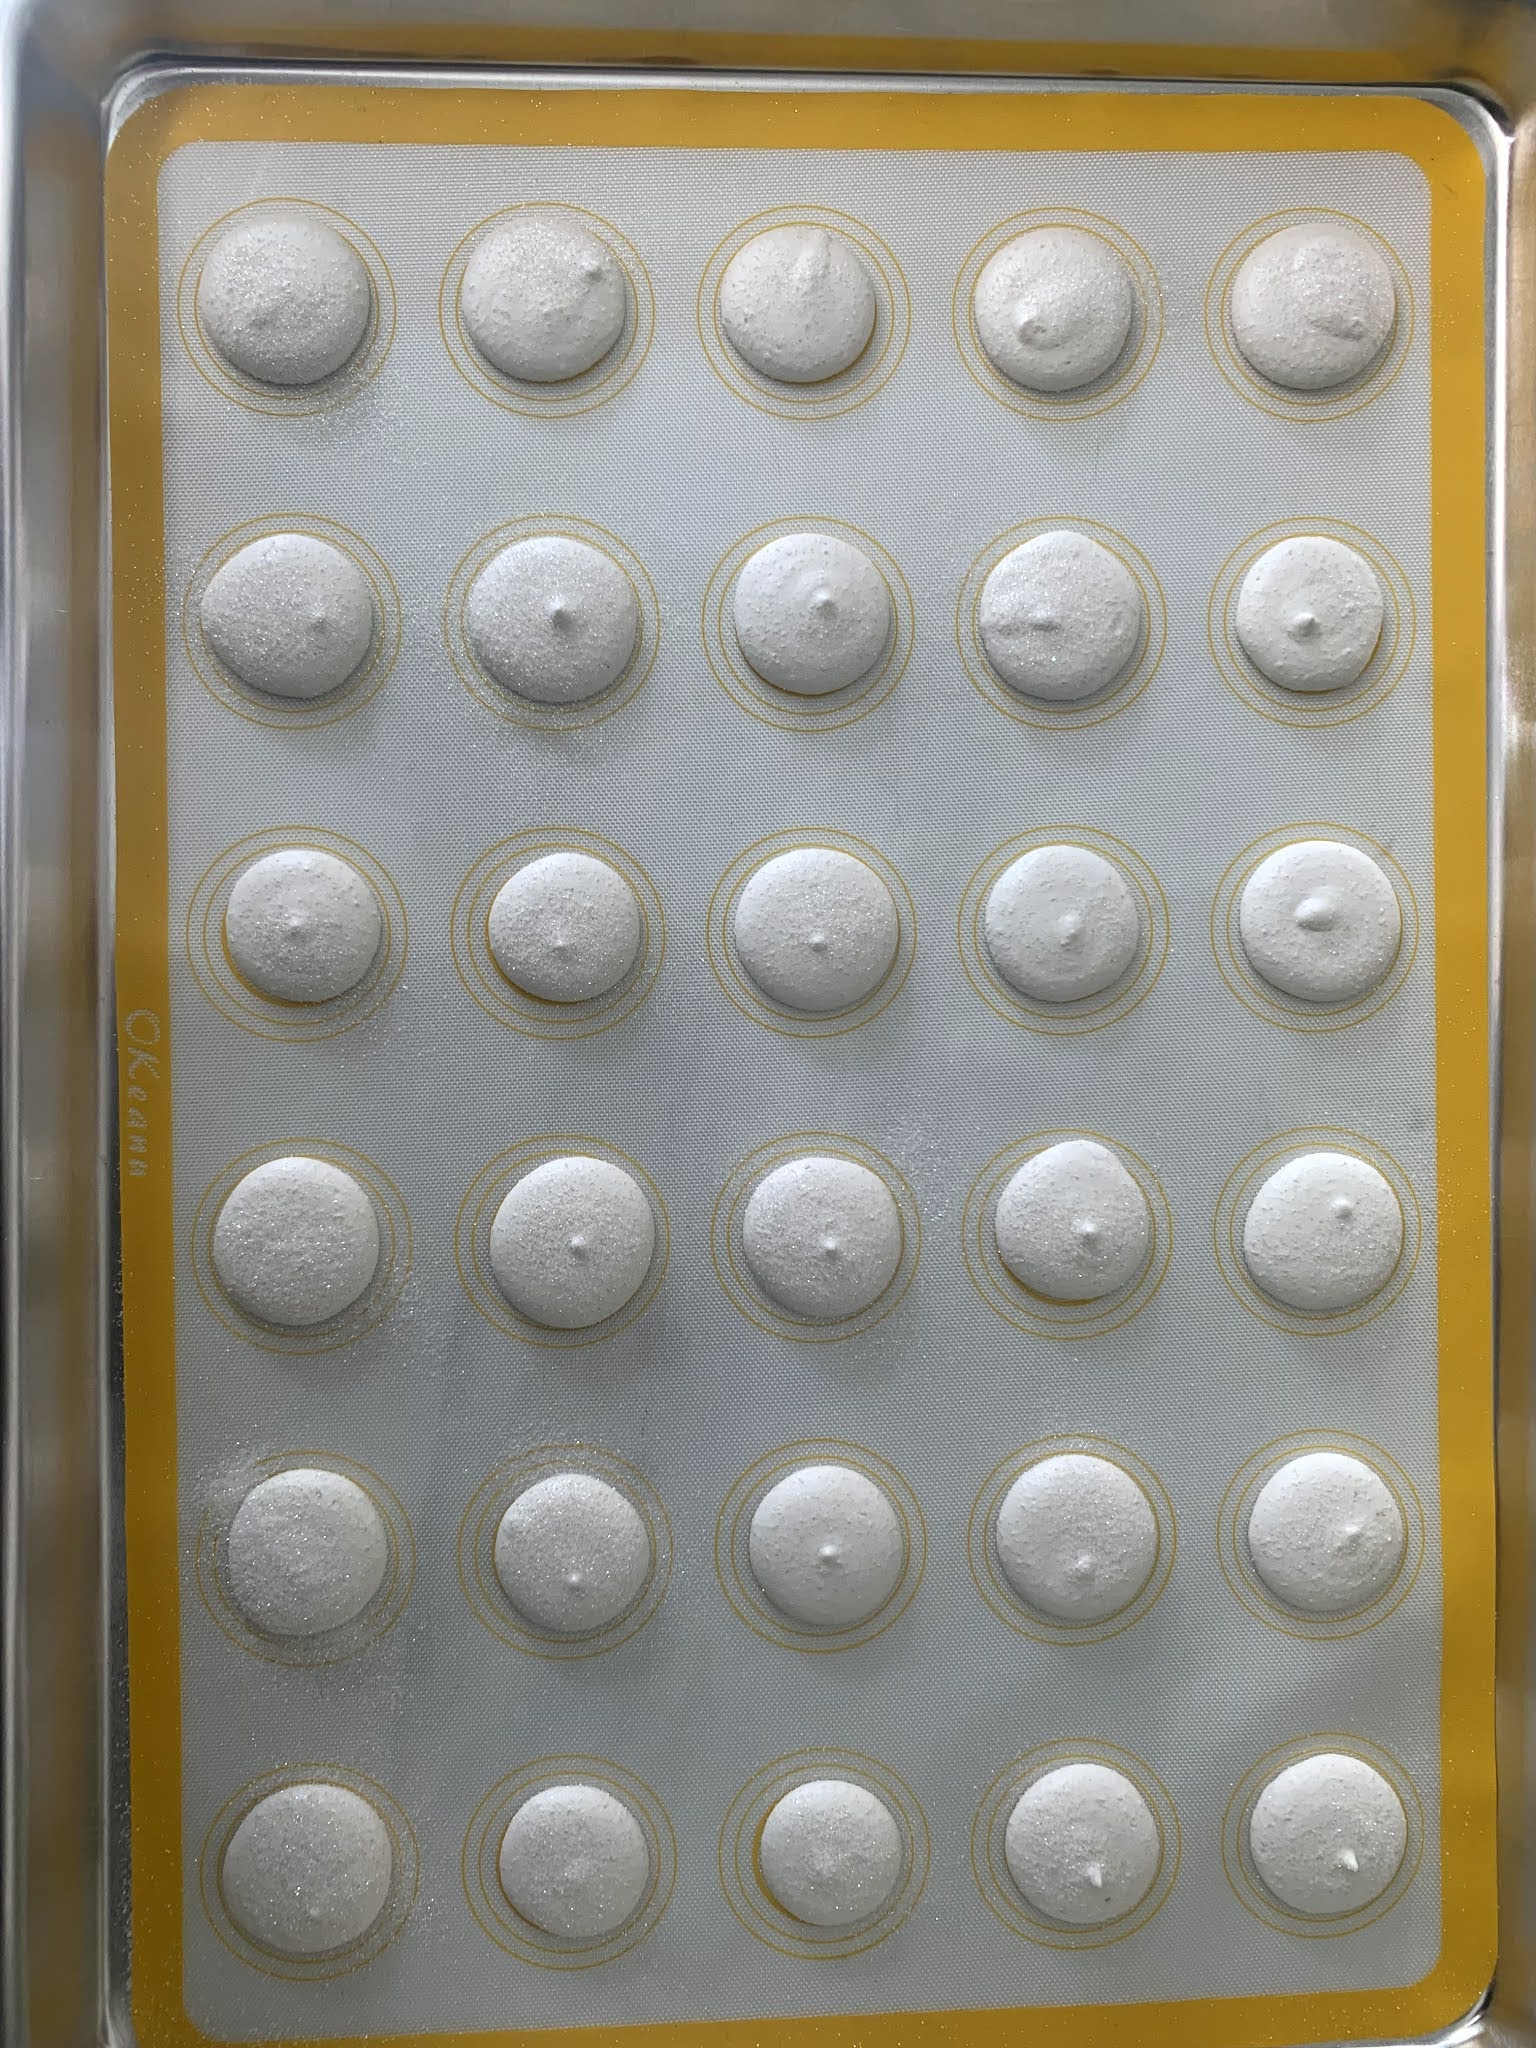


Sadly, I neglected to take any good pictures of them after they came out of the oven, or like, any of the other colors because I was piping/baking while doing the cakes and frostings and fillings and just kind of lost track of the photos... so look for them on the finished cakes.
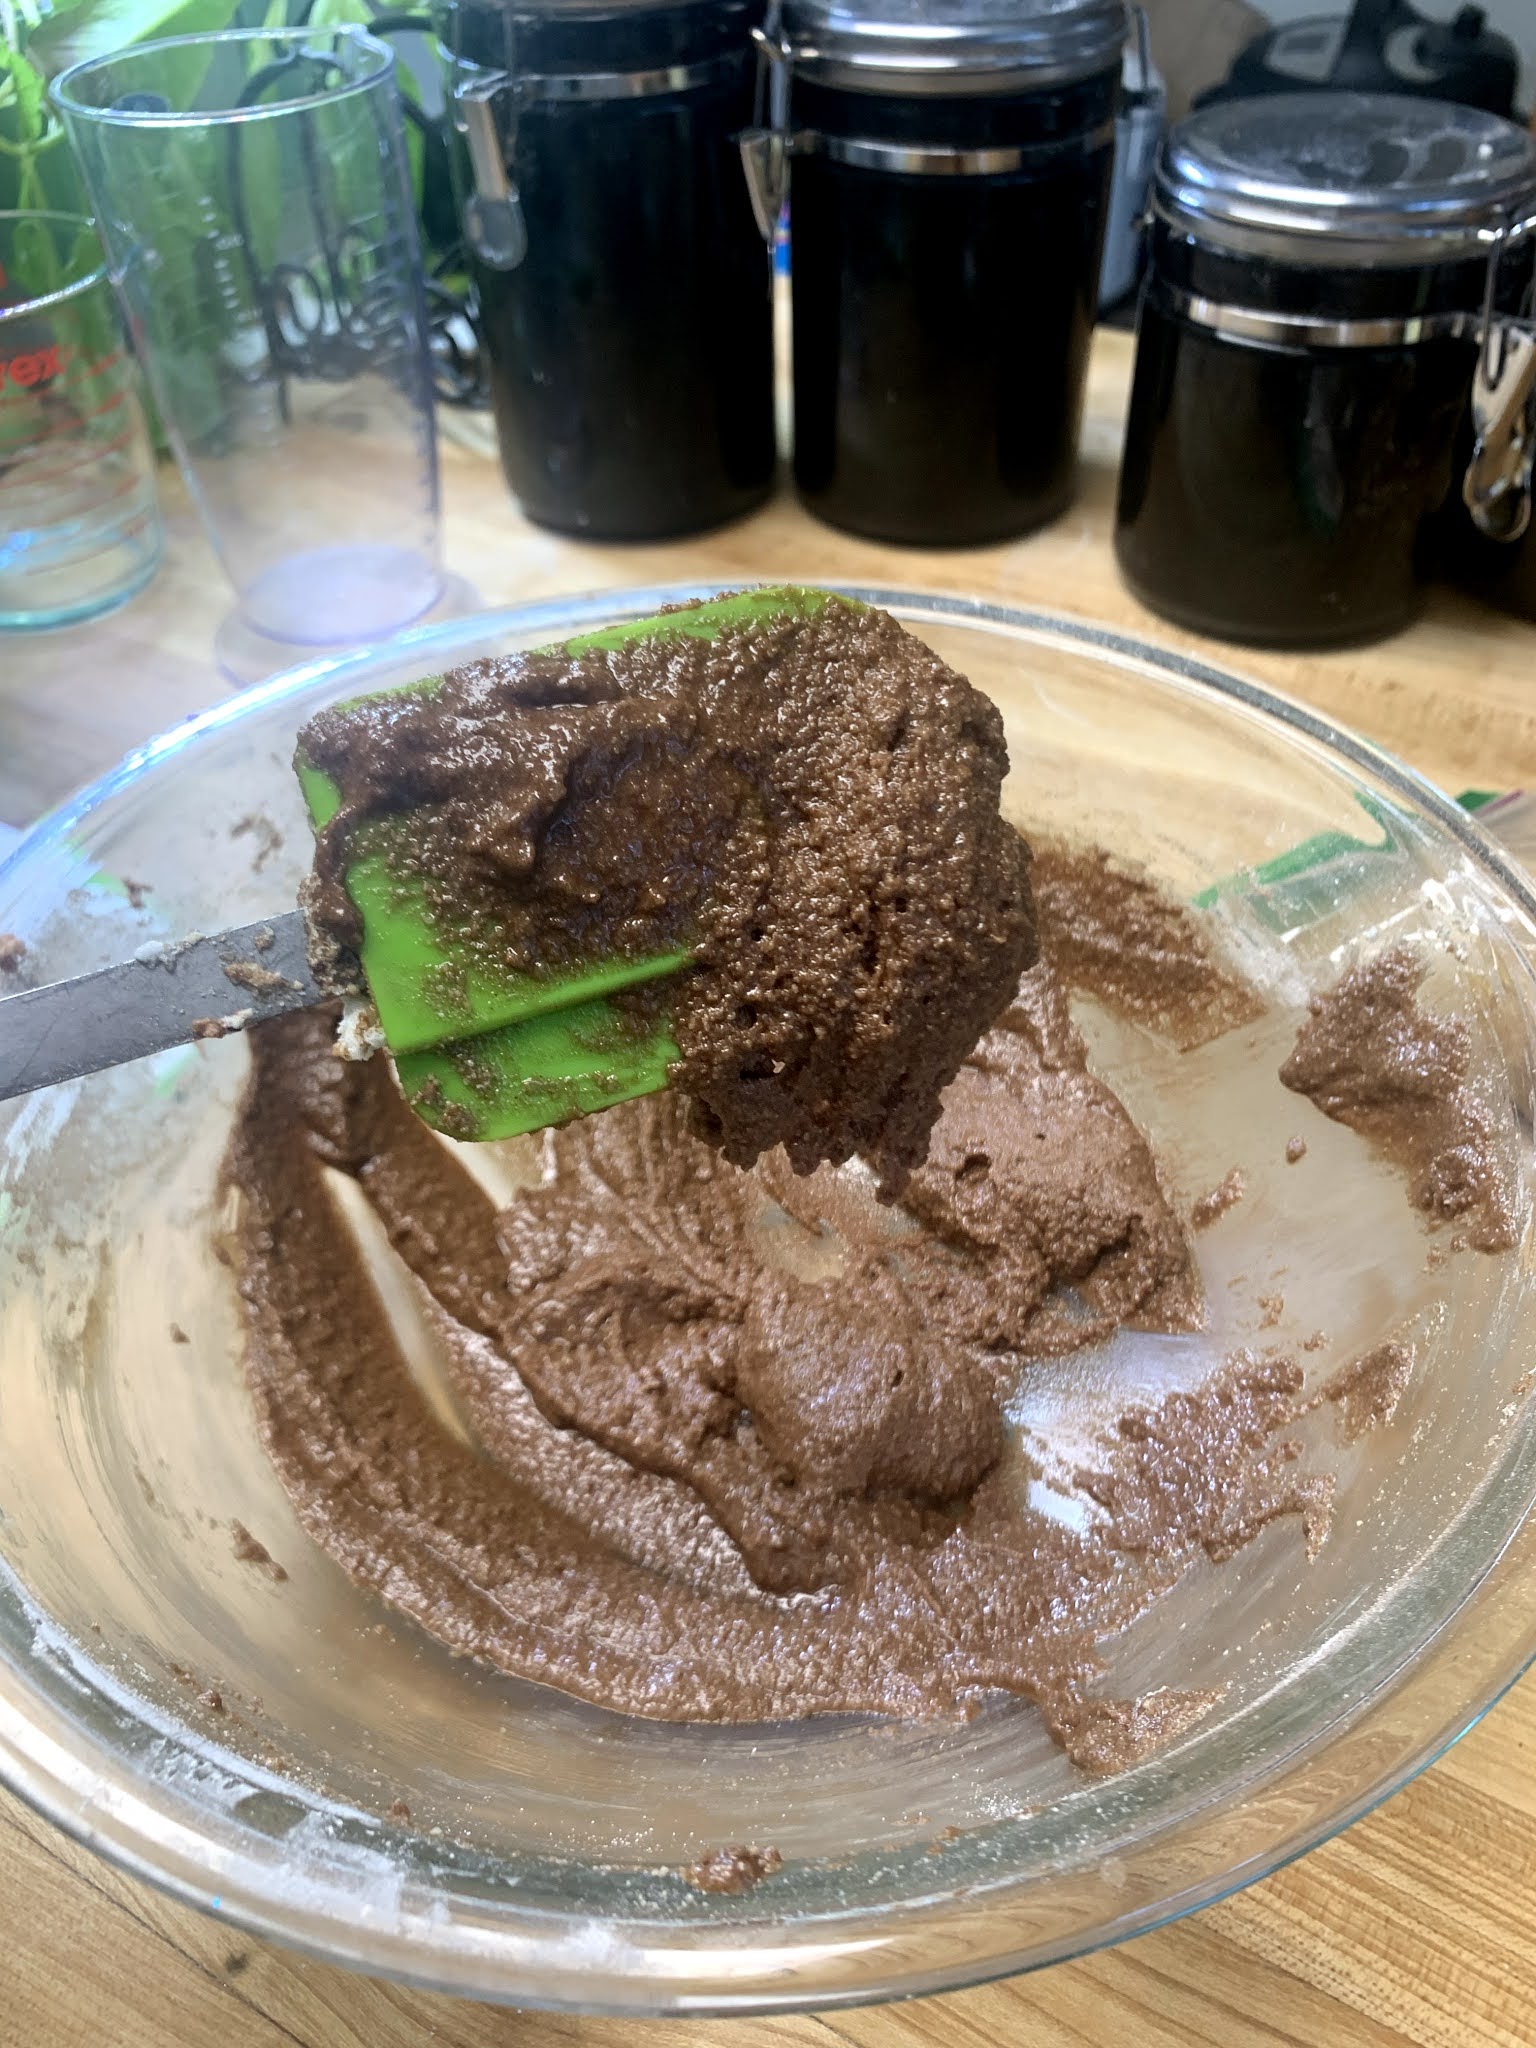
Chocolate Macarons
I used this recipe. The chocolate macarons didn't come out as well as I'd hoped, they were a bit cakier than they should be as proper macarons, but I'm not sure why that is. These are for the matcha cake.


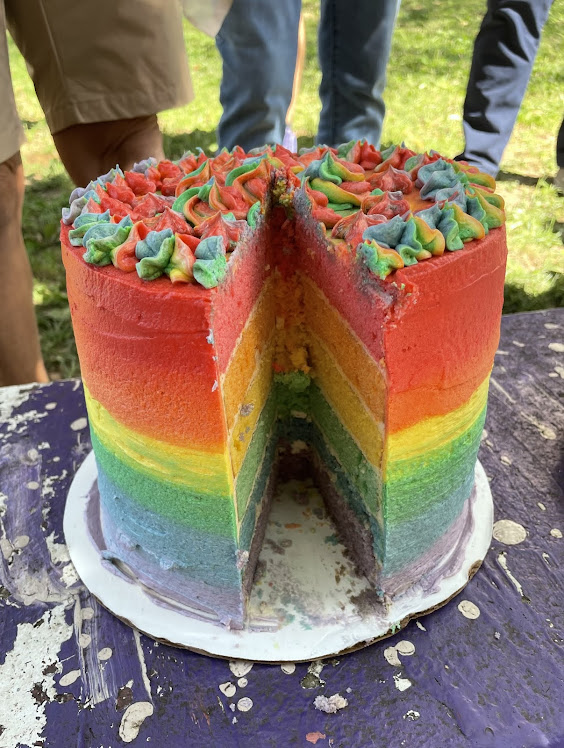
GALAXY CAKE

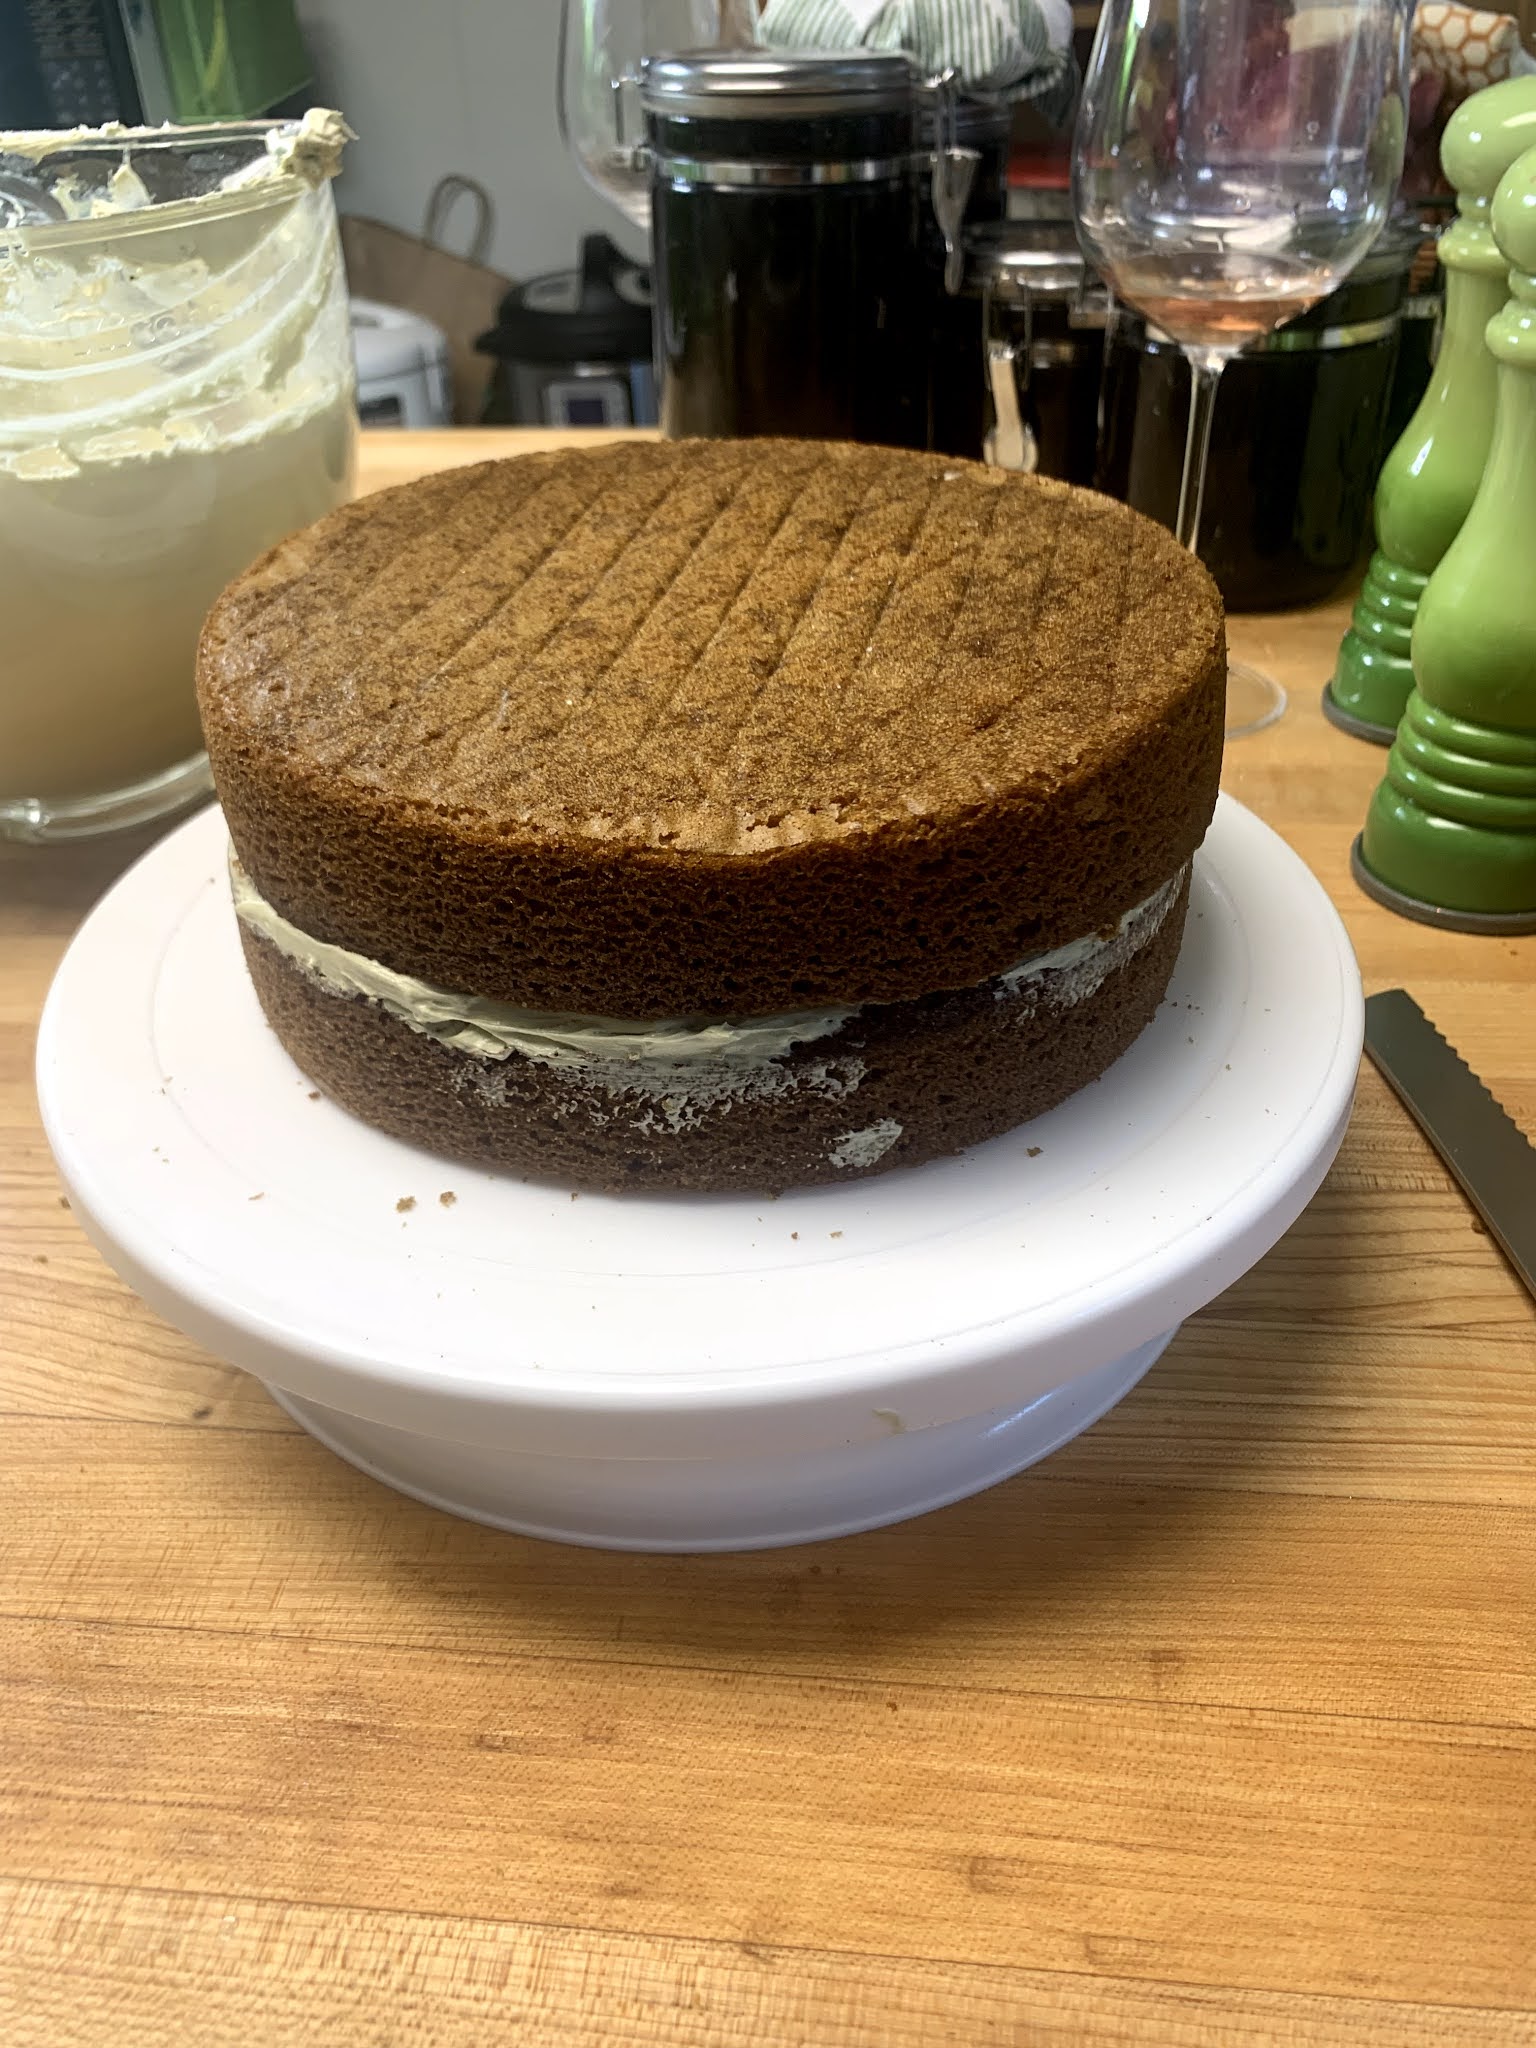
Chocolate Cake
I made a two batches this chocolate cake recipe from Smitten Kitchen, with some SLIGHT tweaks, so I'll actually put the recipe here as it was so good that despite my personal aversion to chocolate cake I loved it:
Ingredients:
- 85 grams unsalted butter, at room temperature
- 145 grams firmly packed dark brown sugar
- 25 grams granulated sugar
- 1 large egg
- 1 large egg yolk
- 1/2 cup buttermilk (see Notes for other options)
- 1/4 cup very strong coffee (I used this cold brew that I live for)
- 1 teaspoon (5 ml) vanilla extract
- 41 grams cocoa powder
- 125 grams all-purpose flour
- 1/4 teaspoon baking soda
- 1/2 teaspoon baking powder
- 1/2 teaspoon table or fine sea salt
- Grease and line the bottom of an 8 inch round pan with parchment paper
- Heat oven to 350°F
- In a large bowl, use a hand or stand mixer to beat the butter and sugars until fluffy; scrape down bowl.
- Add the egg, yolk and vanilla and beat until combined, then the buttermilk and mix again.
- Scrape the bowl down well and don’t worry if the batter looks uneven.
- Place your flour, cocoa, baking soda, baking powder and salt in a sifter (I find this step necessary because my cocoa is very lumpy) and shake it over the batter bowl.
- Stir on low until just combined; scrape down bowl a final time.
- Scoop batter into prepared pan and smooth flat. Bake for 18 to 22 minutes (updated, based on feedback) 25 to 35 minutes, until a toothpick inserted into the center comes out clean.
- Let cool for 5 to 10 minutes in cake pan on cooling rack, then flip out onto rack or serving plate to completely finish cooling before frosting.

Swiss Meringue Buttercream
This frosting is DELICIOUS. I thought, prior to this, that it wasn't worth the effort to do Swiss Meringue Buttercream but I was wrong. It is worth it. Do it. Do it now and forevermore.
- Level the cakes
- Stack with icing between each layer
- Frost with marbled frosting- I did a bad job of this, but the basic theory is to not over-mix your frostings, apply them to the cake and don't overdue it on the spreading. I just kept going at it with mine and that was a mistake so instead of silvery and purple-y marbled frosting it all came out kind of purply-grey. Same with the Mermaid Cake, but blue/teal. Basically, don't make three massive cakes and four batches of macarons in one day because even if everything comes out fine nothing will be as good as it could be.

- Add macaron plantes
- Add popping candy asteroid belt

A LITTLE TOO MATCHA
Matcha cake with Matcha buttercream and chocolate macarons

This case was not particularly well-received by the judges on Bake Expectations but... the thing is, I don't think it is too much matcha. I think it's lovely. I mean, to be fair, I love matcha desserts. They remind me of when I studied abroad in Japan and they make me... nostalgic I guess is the best word for it? I wish there was a word for homesick that was for a place other than home, because it makes me feel that. As do hotdog buns and tempura and Japanese curry and melon soda and all sorts of other things, but this one, this week, was making me feel that kind of deep longing and so, with the utmost respect, I'm going to disagree with the judges on this one.
Also, this turned out way prettier than any of the others (possibly because the day I made it I only made these macarons and this cake instead of trying to do three at once).
Matcha Cake
I used this recipe. The cake is lightly matcha-y, the frosting more and the combination, with the chocolate, is lovely.
Matcha Buttercream
Ingredients:
- 2 c butter, softened
- 2-4 c powdered sugar, to taste. I know, this range is HUGE, but the recipe I used called for 4 2/3 cups. I used about 2 1/4 and thought it was more than sweet enough.
- 2 1/2 tsp matcha (I may have added a little more)
- 1 tsp vanilla extract (I never measure just dump in a healthy splash)
- pinch kosher salt
Instructions:
- Beat butter with salt, matcha, and vanilla until smooth
- Gradually add the powdered sugar, a few tablespoons at a time (I use the quarter cup measurer and dump it in a little at a time). Let it be fully incorporated before adding the next bit. I read somewhere this helps keep it from being grainy and so I always do it this way. Once you've added 2 cups of sugar.
- When you've added 2 cups of sugar, taste it. If you like it, great. If not, add more sugar to taste.
Assembly
- Level your cakes. I suck at this, but just do your best and it'll be fine
- Frost the first layer and top with the second cake. I like to flip it upside down so that the nice level bottom makes the top.
- Frost the cake
- Chill the cake
- Level your cakes. I suck at this, but just do your best and it'll be fine
- Frost the first layer and top with the second cake. I like to flip it upside down so that the nice level bottom makes the top.
- Frost the cake
- Chill the cake

Chocolate drip
This isn't a proper recipe. Make sure your cake is frosted and chilling in the fridge before you start this because this bit is time-sensitive.
Melt some dark chocolate in a pot carefully if you're a risk-taker, or a double boiler if you're cautious, with a heavy splash of heavy cream. Add more cream if the chocolate isn't melting all nice and glossy. Stir constantly. When it's liquidy and glossy, turn off the heat.
Gently spoon the melted chocolate around the edges of the cake, encouraging it to drip with the spoon and a little more chocolate as needed.

Spoon all over the top of the cake, if you choose to. Top with macarons.


MERMAID CAKE

Vanilla cake
I used this vanilla cake recipe.

Ingredients:
- 3 sticks (354 g) unsalted butter
- 1 (8oz) package mascarpone
- 4 cups (500 g) (or more, to taste) powdered sugar
- 3 tsp vanilla bean paste (or vanilla extract)
- 1 tsp salt (or less, to taste)
- 1/4 c milk (more, pour slowly, only as much as needed to make your buttercream buttercreamy)
Instructions:
- Cream the butter and mascarpone until smooth and fluffy
- Add the vanilla
- Slowly add the powdered sugar, a little at a time, allowing it to fully incorporate before adding more. When you get close to the end, taste between additions to make sure it is exactly as sweet as you like it
- Add salt
- Add milk, a little at a time, until the consistency is what you want. Let the mixer run on slow for another few minutes to make sure everything is perfectly incorporated and smooth and fluffy
Marshmallow Fondant

- Level cakes
- Frost with layers of frosting between.
- Decorate with marbled frosting (see note above)


- Pipe some barnacles and shells (unlike Harry, I would not be praised for the delicacy of my piping skills)

- Add macaron oysters. I fully intended on making white chocolate pearls but I didn't because I made three of these in one day which was very very stupid for me and the reason why none of them turned out that well (decoration-wise. They were all delicious). If you did want to make white chocolate pearls I would just melt the white chocolate, let it cool enough to handle, and roll little pearls in the palm of your hand. If you have edible iridescent glitter (like I do!) I'd consider rolling them in that as well.
- Add fondant mermaid

MARIE ANTOINETTE CAKE
Well, true to form, I had a bunch of missteps with this one. Nothing came out as it was supposed to so the frosting ended up the wrong color (colors?) and the macarons not at all boa-like in their placement. As I was carrying this cake into my mother's house I slipped and dropped it (just a little, and within the box, so the top layer just kinda slid off center but nothing was ruined) and my mom called out "OH NO! Did you drop that cake?!" and I was like, "IT'S FINE! IT'S THE ONE THAT'S SUPPOSED TO FALL!"
Also, I lack appropriate containers for transporting cakes in their entirety so this was the fun backseat of my car as I drove nearly two hours TERRIFIED and with the air conditioning on full blast.

ANYWAY, for my very messy take on Anvita's differently messy masterpiece...
Vanilla bean cake
I used this vanilla bean cake recipe.
Swiss Meringue Buttercream
I used the same Swiss meringue buttercream as in the galaxy cake, above.
Now, once again I deviated from the brief a bit, as I didn't want to make two vanilla/vanilla cakes but I wanted to make all the cakes, and I had a whole bunch of egg yolks from making all those macarons, so I made a curd of my own design.
Excellent and Sexy Citrus Curd
Ingredients:
- 4 egg yolks
- 1/3 cup sugar
- One lemon, zested and juiced
- Orange, zested and juiced
- 1/4 tsp orange blossom water
- 1/8 tsp salt
- 6 tbs unsalted butter, at room temperature
Instructions:
- Put all the juice from the lemon into a measuring cup, add orange juice to make 1/3 cup of juice total. You'll likely have some extra OJ, feel free to make a very strong mimosa or just drink it.
- If you're being careful, use a double boiler. Fill the bottom pot of your double boiler with 1-2 inches of water. Place on high heat. Once the water begins to boil, reduce to low heat to keep the water at a simmer. If you are willing to risk it (like I am) you can just use a pot over very low heat
- Place egg yolks, granulated sugar, zest, juice, orange blossom water, and salt into the top pot of your double boiler or pot. Whisk until completely blended, then continue to whisk as the curd cooks. Constant whisking prevents the egg yolks from curdling. Whisk and cook until the mixture becomes thick, resembling the texture of hollandaise sauce, about 10 minutes. If curd isn’t thickening, turn up the heat and constantly whisk.
- Remove pan from heat. Cut the butter into 6 separate pieces, then whisk into the curd. The butter will melt from the heat of the curd. Pour curd into a jar or bowl and place a piece of plastic wrap directly on top so it is touching the top of the curd. (This prevents a skin from forming on top.) The curd will continue to thicken as it cools. Once cool, the plastic wrap can be removed.
Assembly
- Level cakes.
- Assemble, piping rings of buttercream around the cake and then fill the middle with curd.

- Once the cake is assembled, frost the cake with the Swiss meringue buttercream.


- Then, decorate with macarons. They're supposed to look like a luxurious boa on a drag queen, but mine didn't so I just covered the whole cake with them and said well, if I can't do what was written I can at least do something decadent.


Comments
Post a Comment